 1287
1287
QUESTION
How to create and save data mapping?
RESOLUTION
Once you have been using Transaction Pro for a while, you may find that you have accumulated a number of data maps that are hard to locate. Whether you are new to Transaction Pro or you have been an existing user for some time, it is important to start a good discipline of storing your data map files and using good naming conventions. Here are the steps:
- Create a folder with the name “Data Map.”
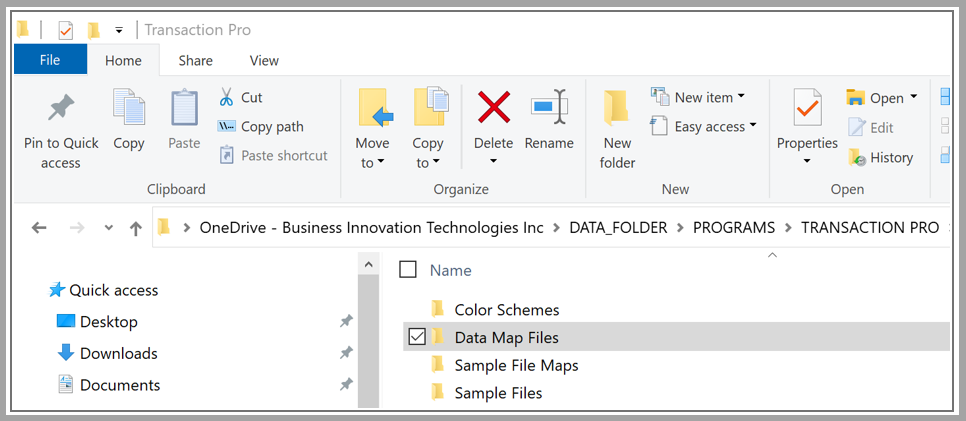
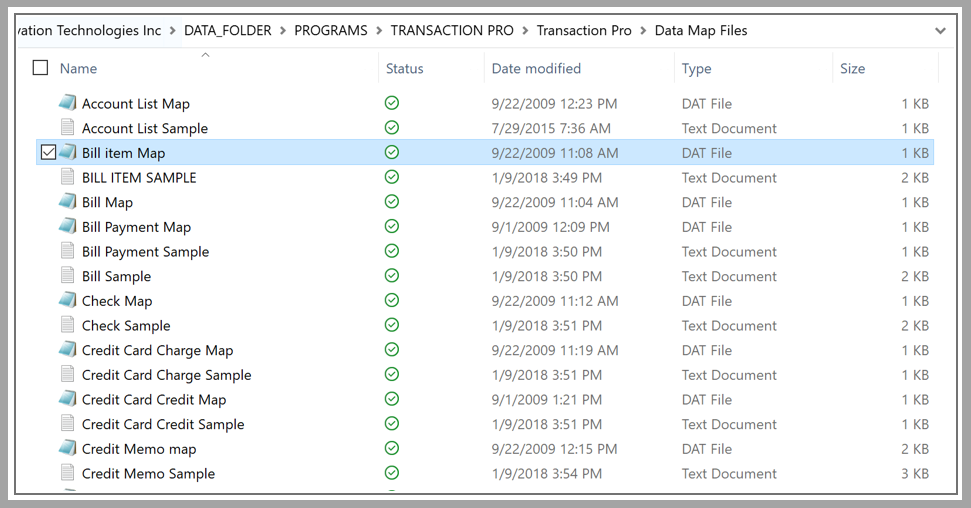
- Within the Data map folder, it is a good idea to use relevant names in your file naming to define what is in the data map and the purpose of what the data map will do. Leaving a sample file with a single transaction in the same folder is always a good idea as it is difficult to remember what the source file should look like and what to name the headings within the import file. If the heading names do not match, your data map may not open.
- If you have never created a data map before using QuickBooks Desktop, all you need to do is map the individual fields as they relate to your source file or add static values or formulas in the highlighted fields.
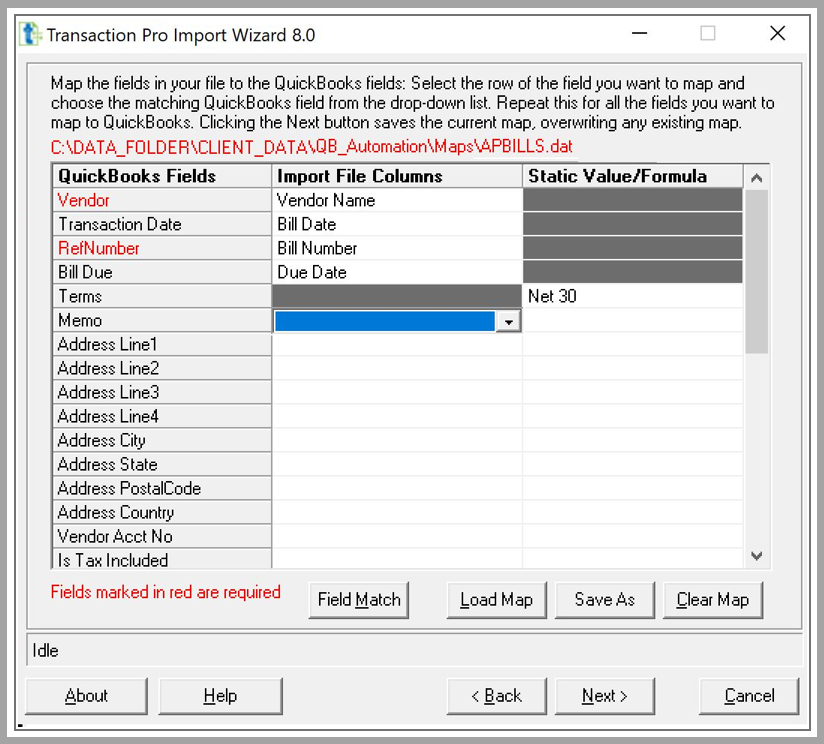
- Once you click on the “Save As” button it will prompt you to navigate to the folder of your choice where you can save the file with an appropriate name to describe your import.
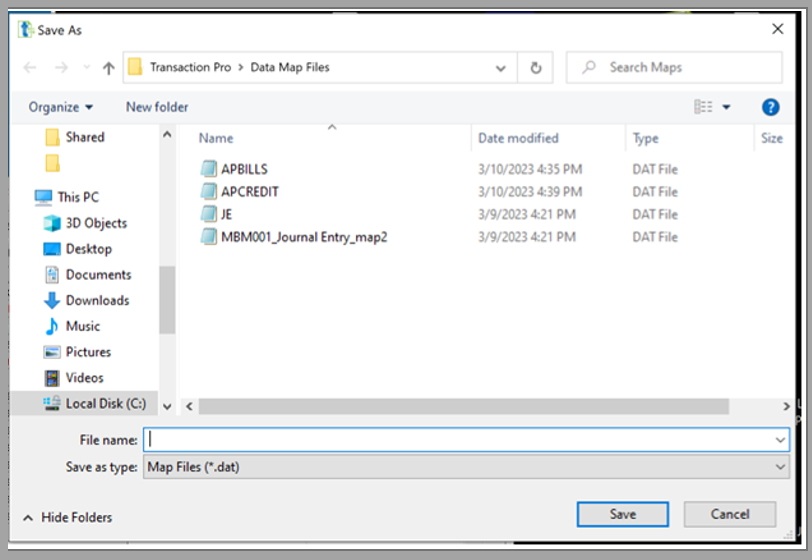
- If you are using QuickBooks Online, the name of the data mapping gets saved to the cloud and is stored within your subscription to Transaction Pro.
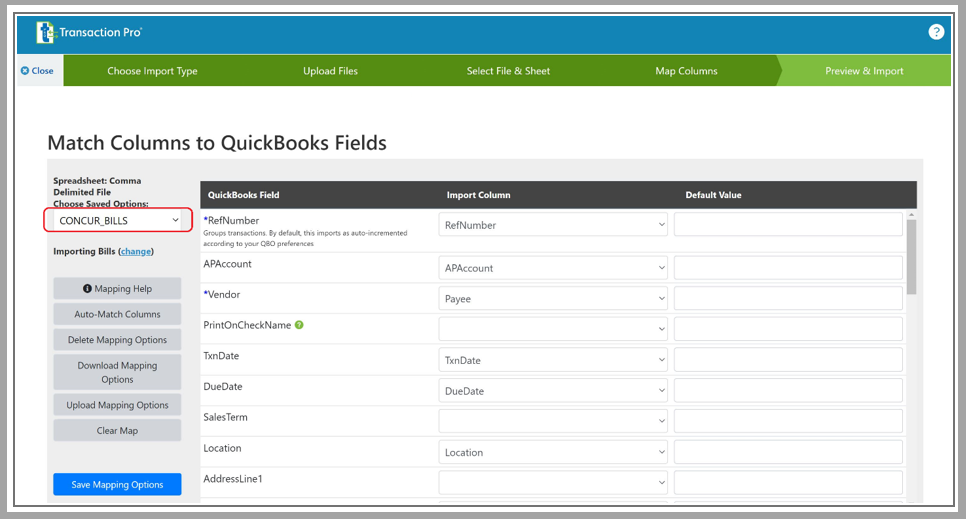
- You will notice, in QuickBooks Online, that there is a button to download your map and save it to a similar location as we did with Quickbooks Desktop. Your data maps can also be uploaded and restored if you ever lose them or if you want to transfer your data maps to a different subscription.
As you can see, by following a few simple disciplines you can keep your computer organized and avoid having to spend time in the future remapping and retesting your imports. Transaction Pro can be utilized as a library full of custom imports for every occasion. If you find this helpful, the best time to start is today!
.png)
.png)


